
Lots of my friends have asked me to help them find their design style. There are plenty of good quizes out there that will help you get an idea of what your personal style is (some of my favorites are the HomeGoods style quiz, BHG Color Personality quiz, Sproost personal style quiz, and Stylish Home Style Maker quiz), but nothing compares to actually looking at a collection of pictures that help inspire you to find YOU. The best way to do this is by creating a Mood Board. A place for you to gather all your ideas together, so you can define your own personal style. It can be virtual (on a computer program, a website, or in a digital photo album) like these:
 |
| 1. Digital/Photoshop mood board from Chalk+Dot 2. Online mood board from Olioboard 3. Digital/Photoshop mood board from Little Nudge 4. Photo Album style, interactive iPad/iPhone mood board from Moodboard Pro |
Or they can be physical, like these:
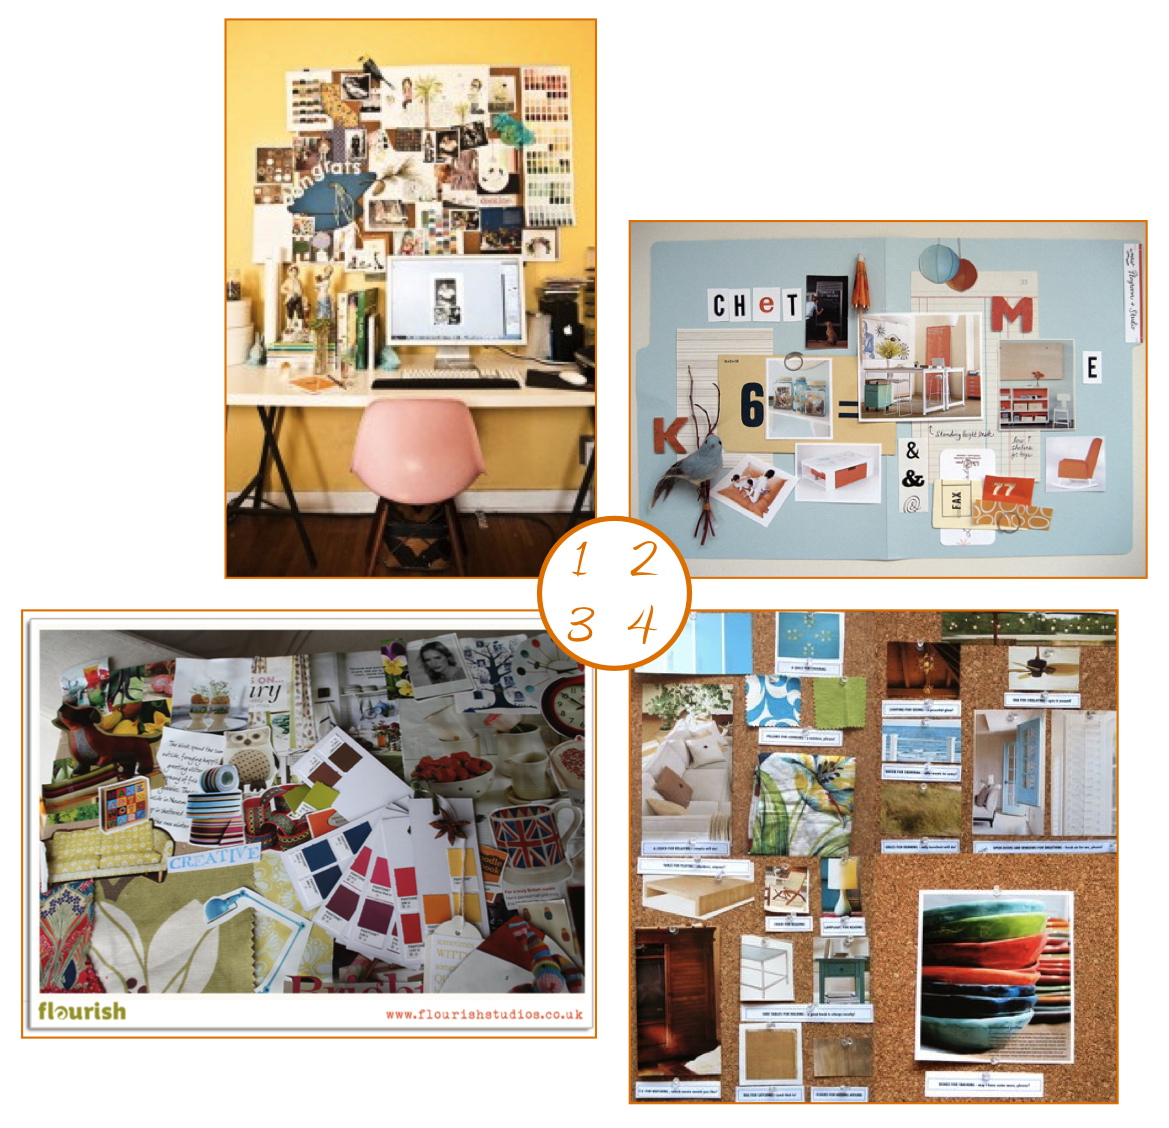 |
| 1. Wall mood board from Sitt 2. File Folder mood board from Coochicoos 3. Collage mood board from Flourish Studios 4. Cork Board from Lorenz Studios |
"Why should I make a mood board?"
A mood board can help you see whether or not your color choices/fabric patterns will work well together, if your furniture is to scale, or if your style is cohesive before you commit to a purchase. It can save you a lot of time and money.
"So how do I make a mood board of my own?"
It's easy! I recommend the following:
- First, set up a Pinterest account. You need to gather all your ideas in one place. Somewhere you can look at all the pictures together to find the similarities. This is an excellent website that will easily facilitate this. I would recommend creating a virtual "Inspiration Board" for each room. When you find a room that you love, Pin It! Don't give this step too much thought. Go with your initial reaction. You can always delete it later. The whole idea here it to just gather as much inspiration as possible. When you get enough rooms together, look at the whole board and ask yourself, "What do they all have in common?" After a while, you will start to see what you "like" and add those elements to your own rooms.
- Find your inspiration. There are LOTS of places where you can find things to Pin. My favorite resources are: Apartment Therapy, HOUZZ, and DecorPad. All of these websites have photos of great, inspirational design and you can even narrow your search down to see specific rooms or styles. They are my "go to" resources.
- Create your personal mood board. The final step in the process is to design your room! Once you have narrowed down your "style", look for items that fit. Cut them out of magazines, use one of the many online resources (such as Pinterest or Olioboard), or take pictures of them in the store and add them to a "Mood Board" photo album (keep a list of the resources so you can find the things later). Whatever you do, make sure they are all in the same place so you can look at them together. Gather as much stuff as you can!! Then, edit the board to make your final design plan. Some things will get the heave-ho and others will stay until you have a mood board that reflects your personal style. Then, go shopping!!
You may find that your personal style will make many transformations, as ours did. In the past year, I've played around with my mood boards. Changing ideas. Creating "new" looks. And just getting a better idea of my own personal design "style." That's the best part about this whole process! You get to "try" without buying, "live" in a room without committing, and finally fall in "love" with your dream room.


